
Get the app
Get Cursor Pixie from the Mac App Store and open it. You need macOS 26.0 or later. The app is free to use.
Try a built-in image
When you first open the app, try one of the built-in images.
- Choose an image from the options shown.
- Click Apply.
- Move your mouse to see the image follow your cursor.
Choose an image or GIF
- Click the Cursor Pixie icon in the menu bar at the top of your screen, then open Settings.
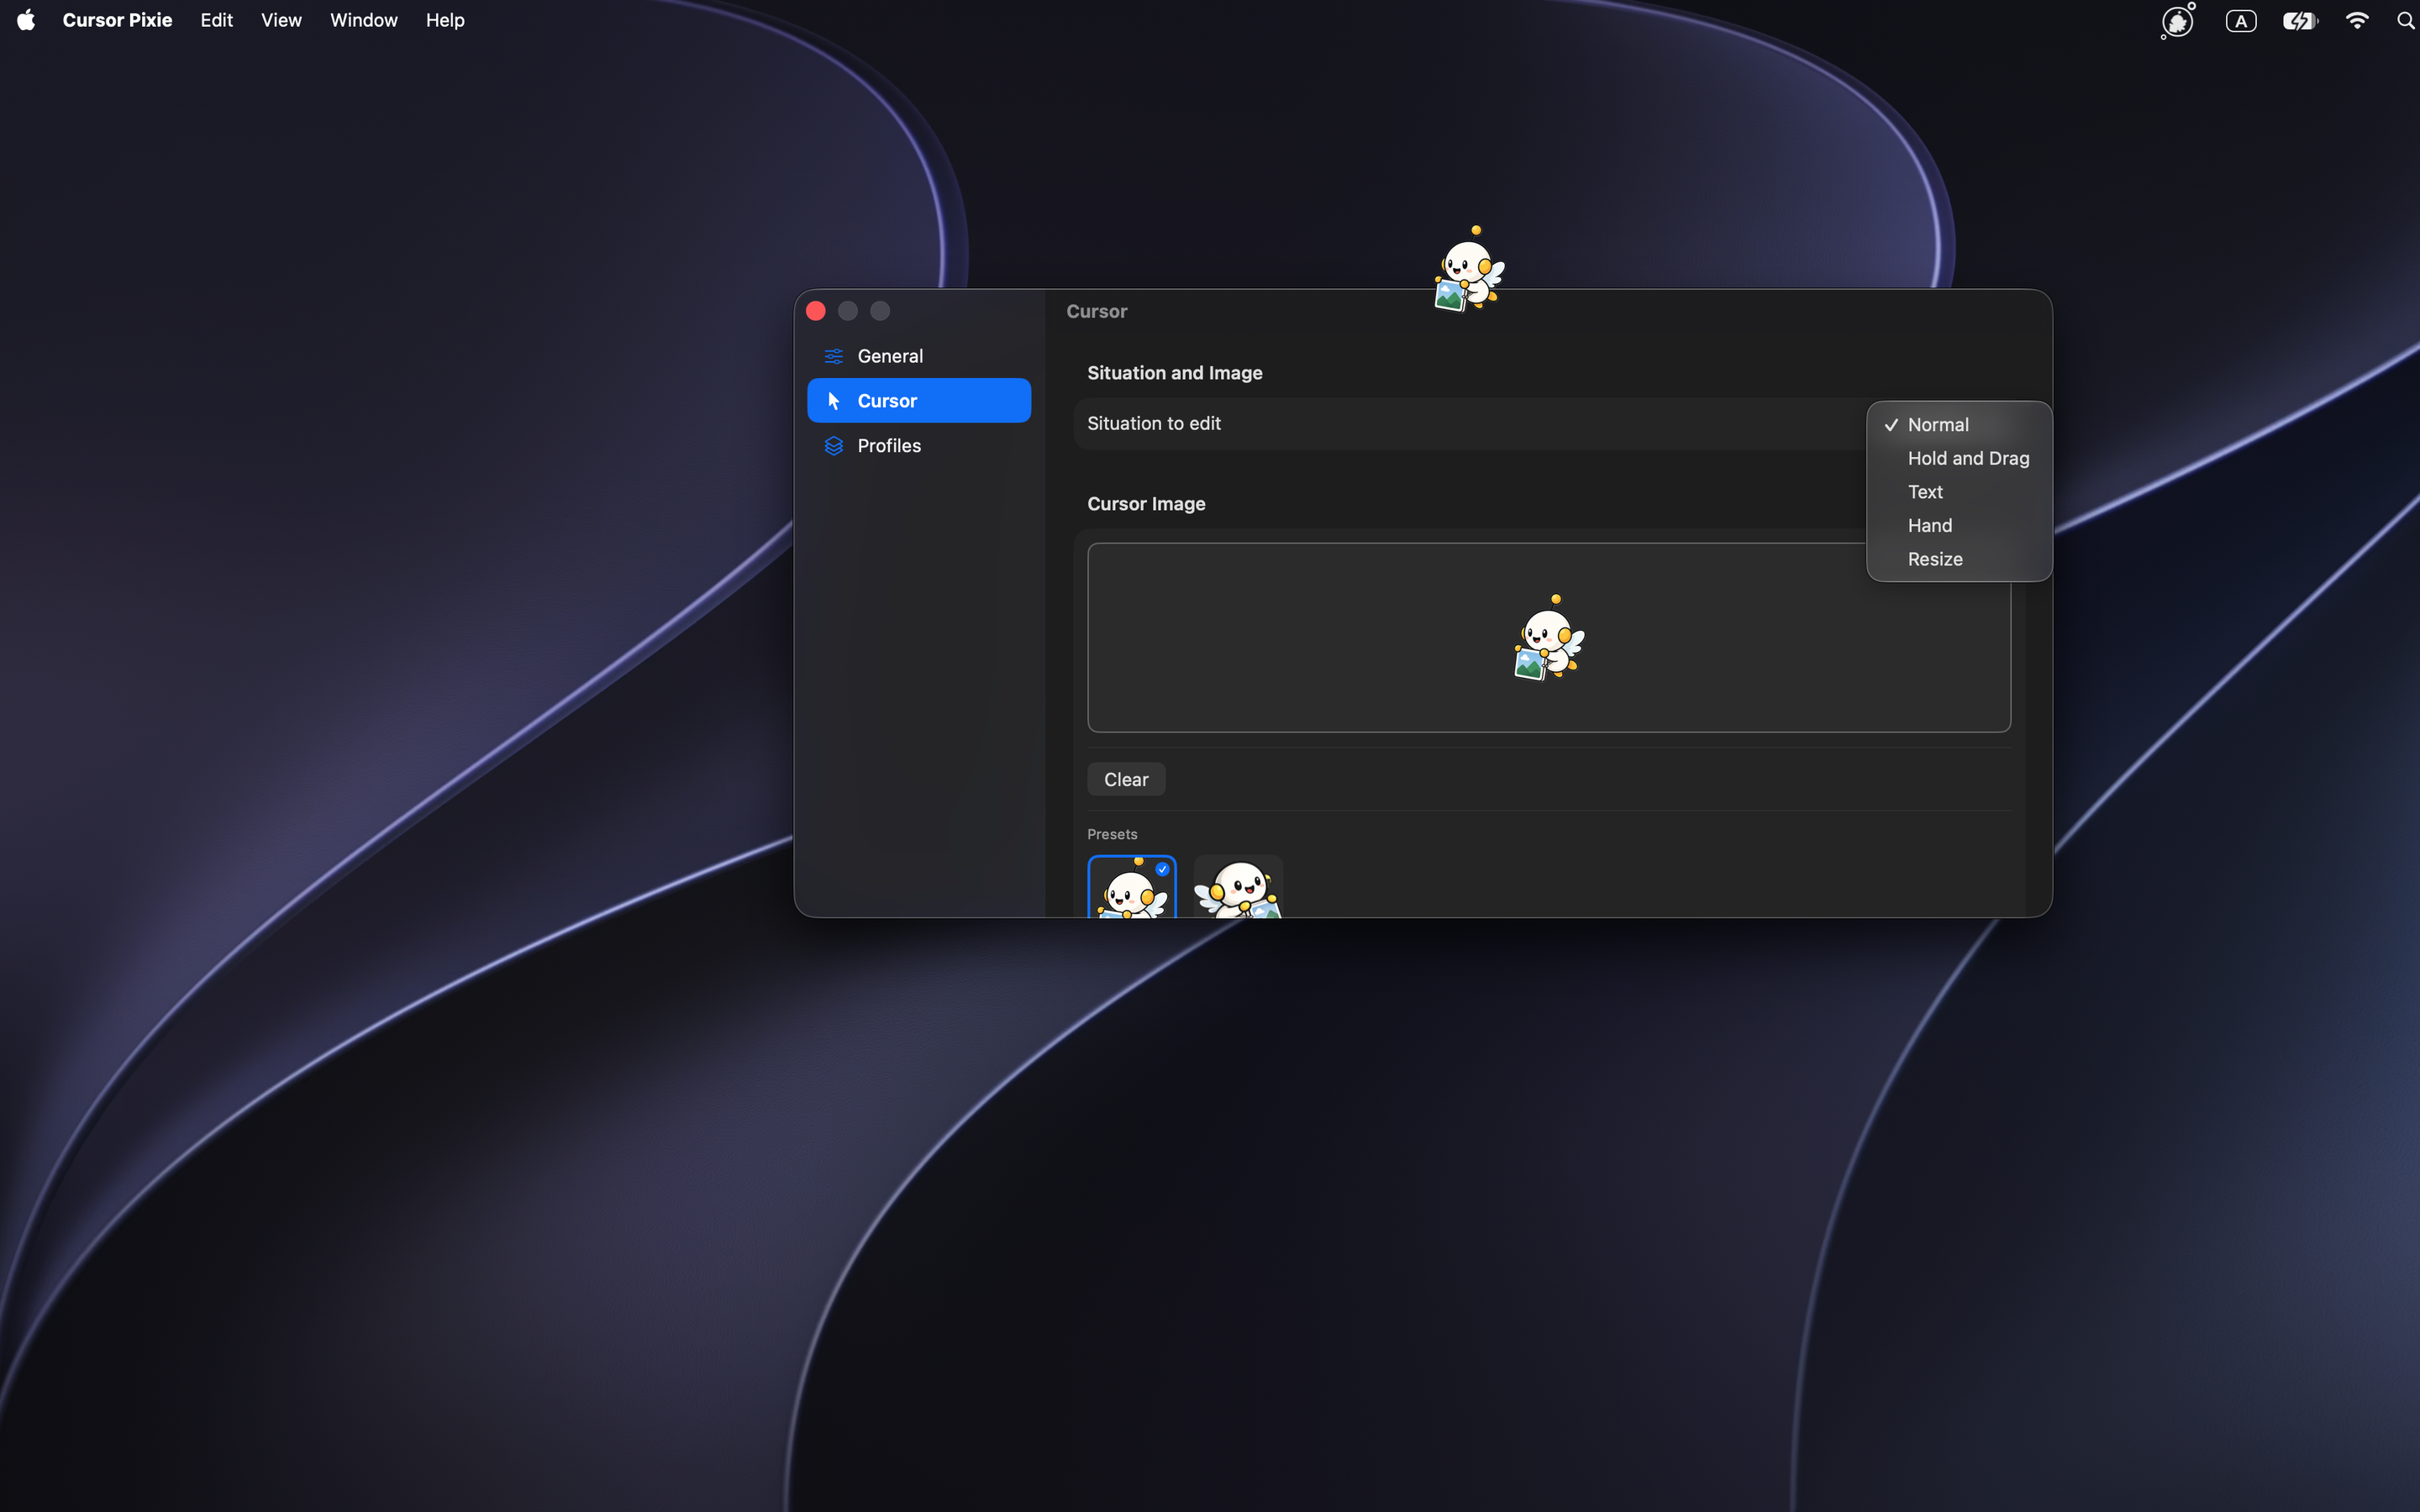
- Select Cursor in the settings sidebar.
- Click Choose Image… and select the file you want to use.
You can also drag a file into the cursor image area. Supported formats include PNG, JPEG, GIF, and SVG.
Adjust the look
- Size: Start small, then adjust until the image is easy to see.
- Opacity: Make the image more transparent if it feels distracting.
- Position: Place the image where you want it to appear.
Show or hide the image
- Click the Cursor Pixie icon in the menu bar.
- Turn the image display off to hide it, or on to show it again.
If you enjoy Cursor Pixie, you can support its development with an optional tip in the app.
A LITTLE HELP
Common questions
Why isn’t my GIF moving?
Check that the original file is an animated GIF. If Reduce Motion is turned on in macOS, GIFs appear as still images. GIFs with many frames may also be imported as still images. Try a GIF with smaller dimensions and fewer frames.
Will my image’s background be visible?
Use a PNG or GIF with a transparent background to show just the character or shape. If your image has a background, it will be visible too. JPEG images always include a background.
Does this replace my normal cursor?
Your normal cursor stays visible and works as usual. Cursor Pixie displays an image next to it without blocking clicks.
How do I reopen settings?
Cursor Pixie stays in the menu bar when you close settings. Click its icon at the top of your screen to reopen settings or show or hide your image.
Still need a hand? Get in touch.